


Resources - Installation Guides
Columns & Pillars
Here is a quick visual step-by-step procedure to install our Alpa columns & pillars. See our Installation Guide for the full step-by-step instructions or call our technical support team. Remember our columns require 2-2x4 SPF #2 or better lumber or a stronger alternative support (round aluminum post or engineered studs) on the inside to become fully structural. Always consult with your project's architect or structural engineer if you are unsure of the loading condition.
- Measure vertical opening.
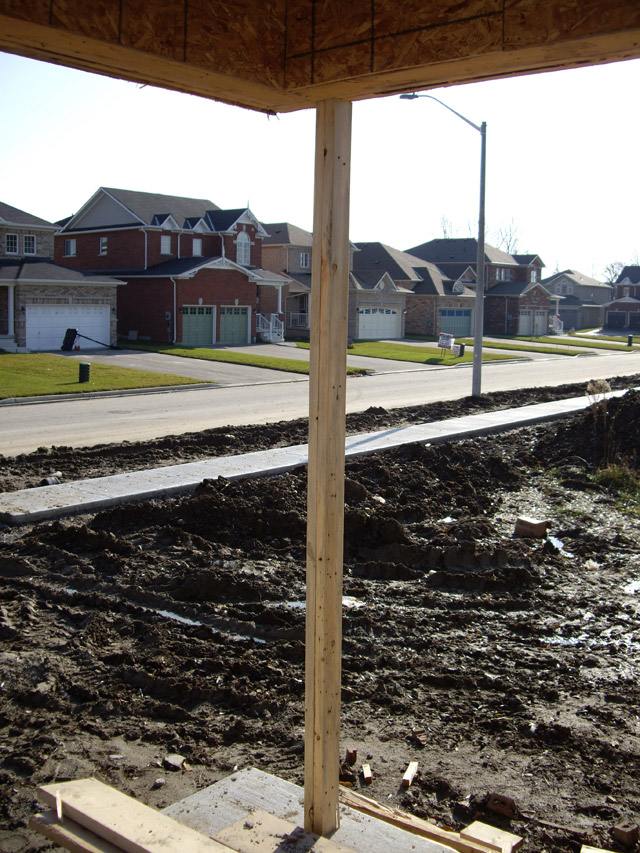
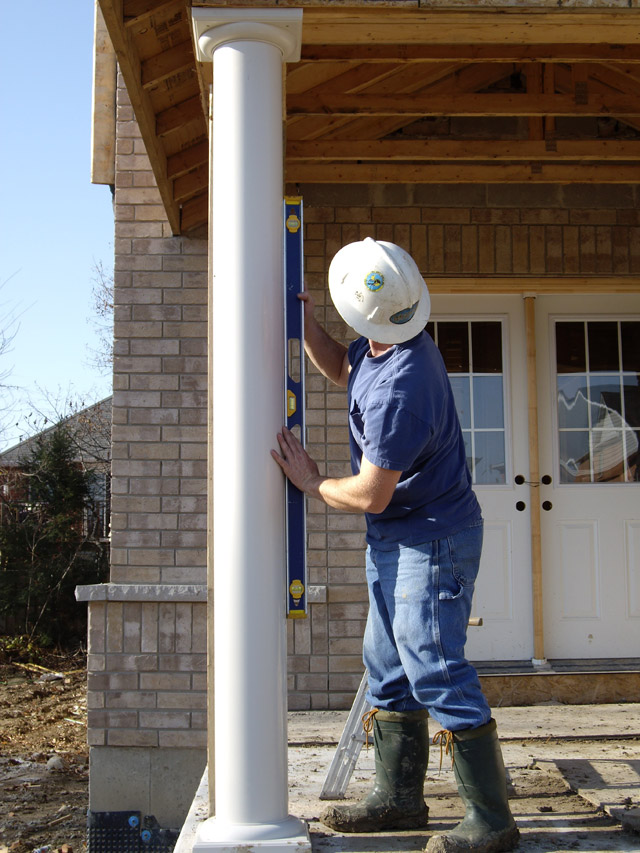
Tip - make sure to always have a temporary support off to the side, or on both sides, of the area where you are installing your column/pillar
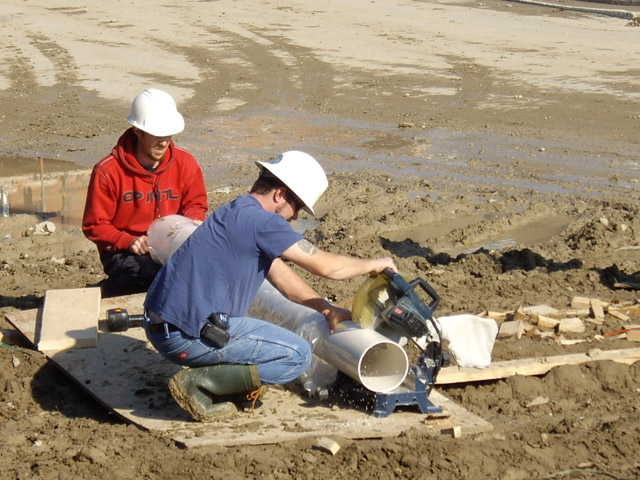
Tip - the support on the inside will need to be cut down 1" shorter than the overall height.
Tip - the vinyl sleeve is cut 2 ¼" shorter than the overall height if installing a column.
Tip - the vinyl sleeve is cut 4 ¼" shorter than the overall height if installing a pillar.
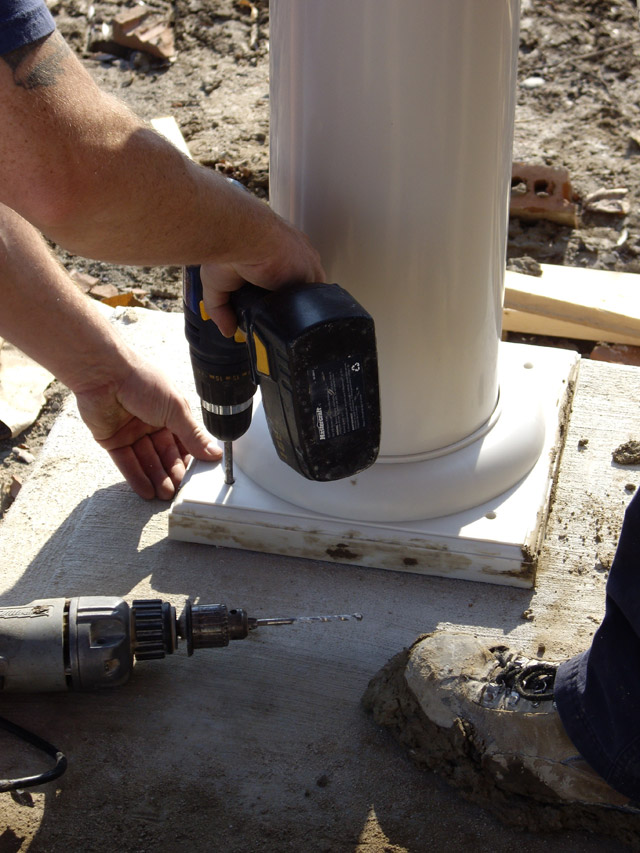
- Assemble the top and bottom bases (mounting plates).
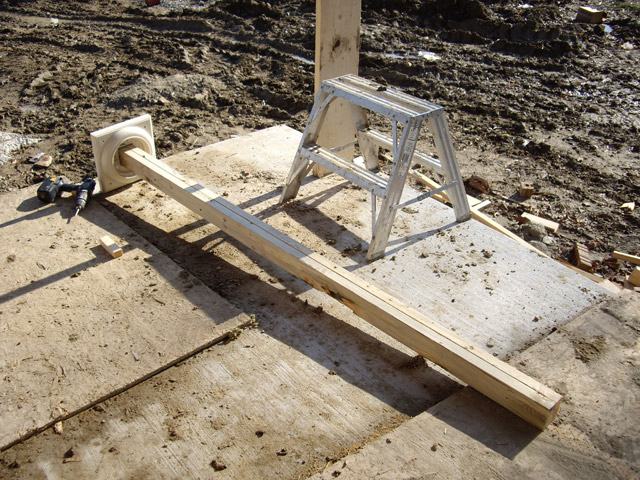
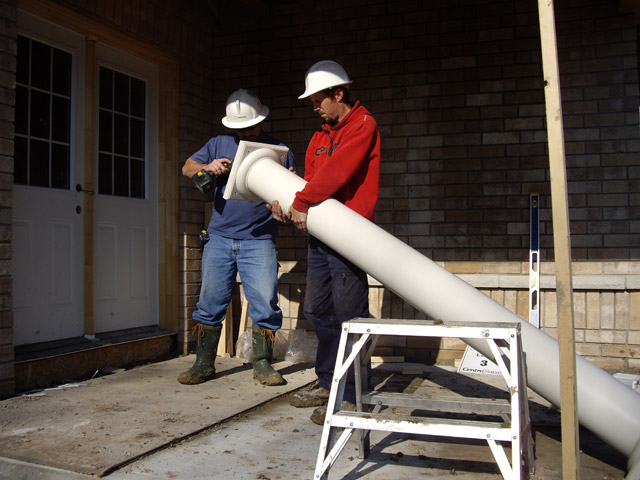
Tip - mount first base, then slide sleeve over support, then connect second base.
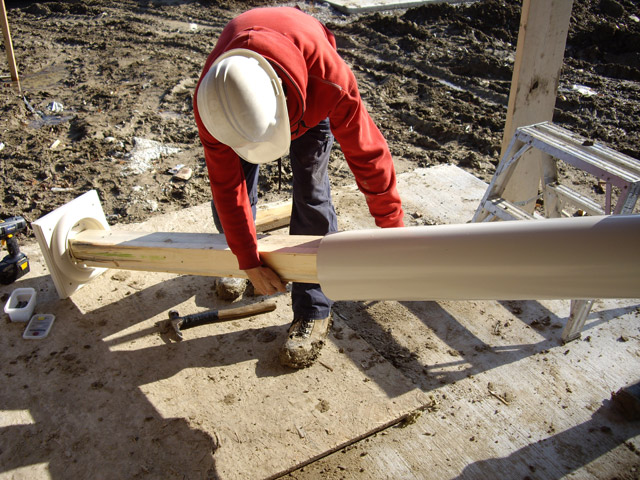
- Set assembly in place.
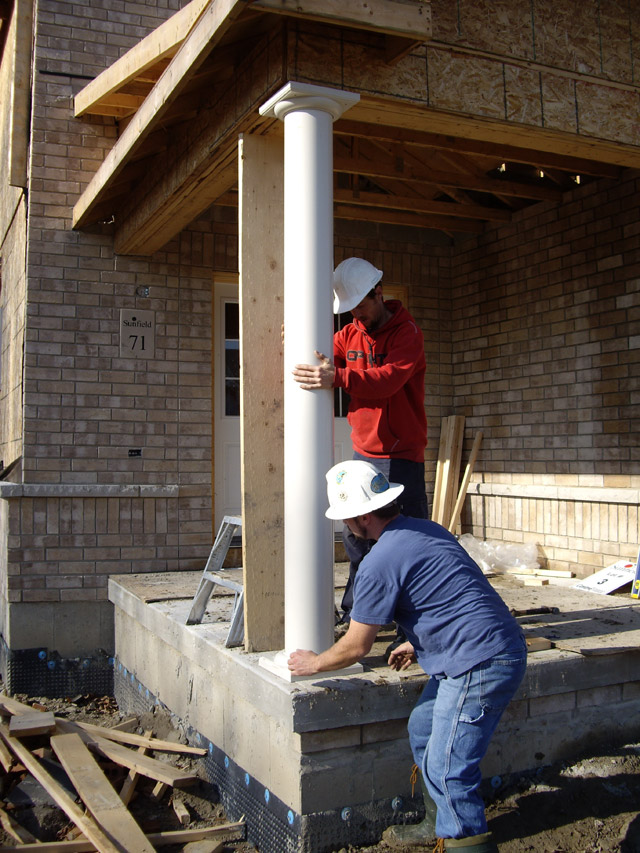
Tip - remove temporary support after full connection of bases (top & bottom) are done.
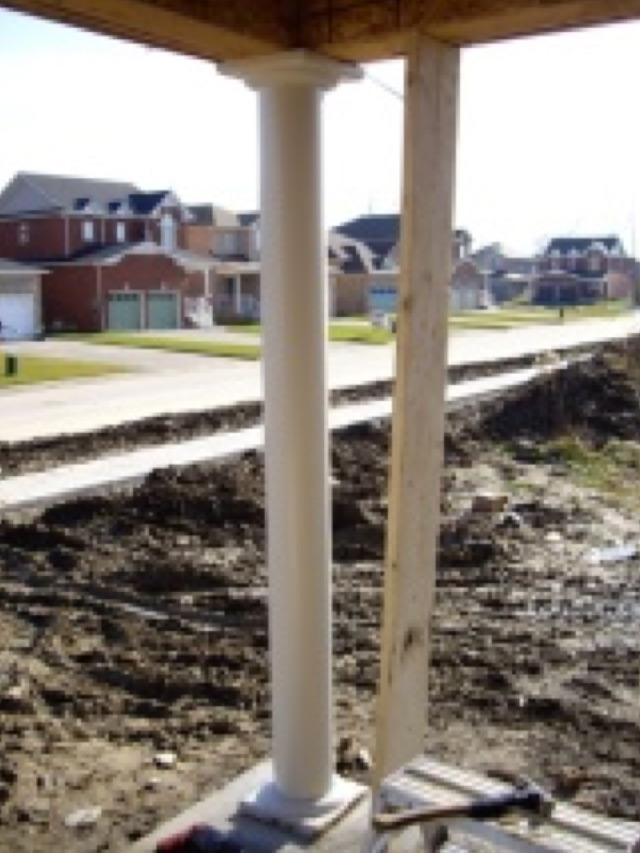
Tip - Don’t forget base cap plugs!
Please refer to the Column/Pillar Installation Guide for more detailed step-by-step instructions to install a column or pillar. Contact our Technical Support team for further assistance.