Resources - Installation Guides
How to Install Our Railings
Here is a quick visual step-by-step procedure to install AlpaRail. See our Alpa Structural Railing Installation Guide for full step-by-step instructions, or call our technical support staff with any questions.
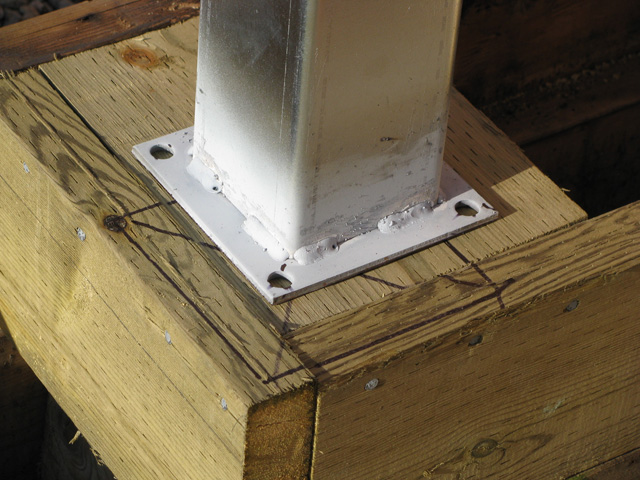
- Post Reinforcement Installation:
Mark and measure out locations of newel posts.
Tip - do not tighten bolts down 100%. Leave slightly loose until railing is attached later - then tighten fully.
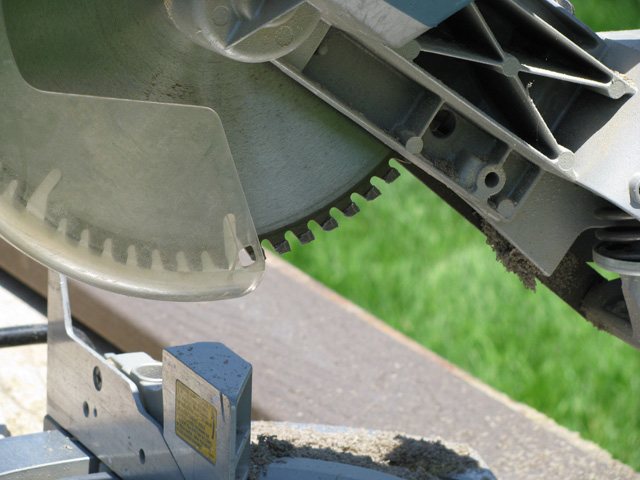
- Measure & trim Rails:
Use a 10" blade with minimum 60 teeth.
Tip - measure equally on both sides to trim so the baluster will have an equal look in spacing between each end. Cut the pre-made railing sections with retainers and then cut the vinyl top rail cap and bottom rail cap.
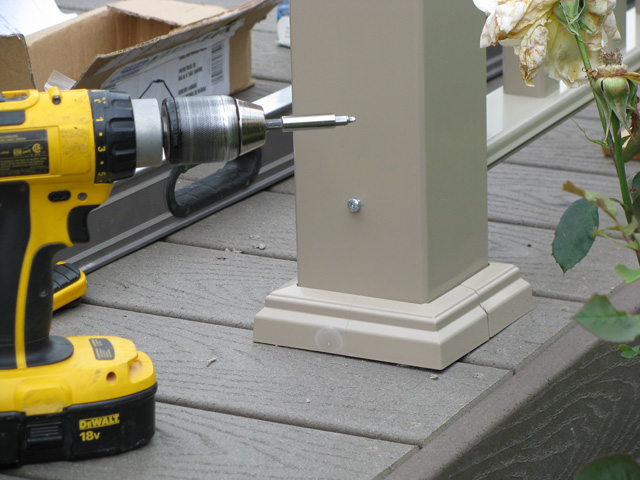
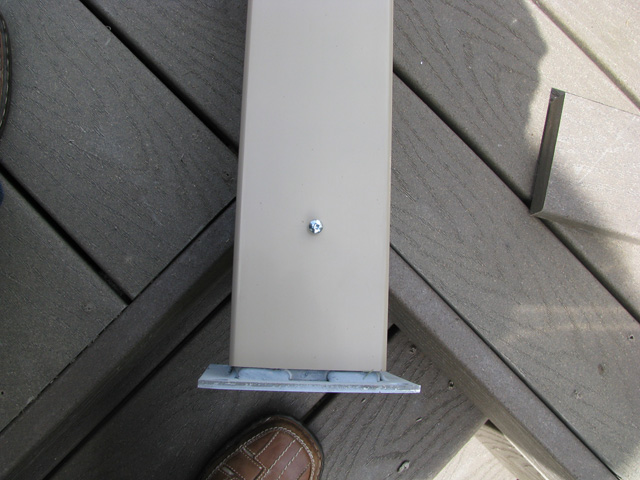
- Install bottom post with screws:
Repeat for each post. Remember to not drill screw in fully, leave enough out to slide the L-Bracket over the screw. Adding additional screws through the L-bracket holes is optional.
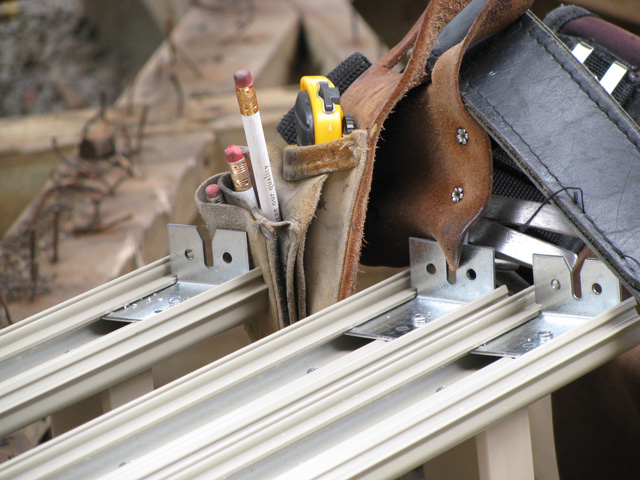
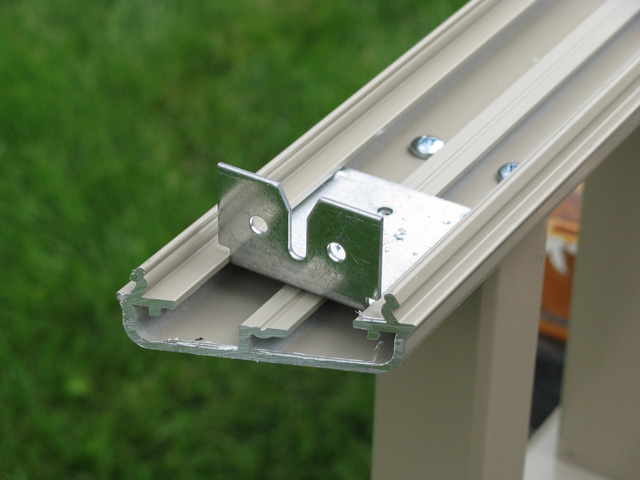
- Install 'L' Brackets:
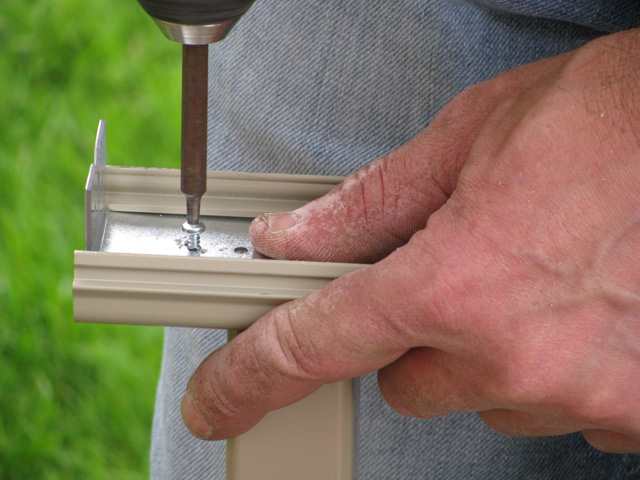
Use our #6 x 3/8" Self drilling pan socket tek screw.
Tip - install the L-Bracket 1/16" inset in the retainer to get a tighter fit when fastening to your connection face.
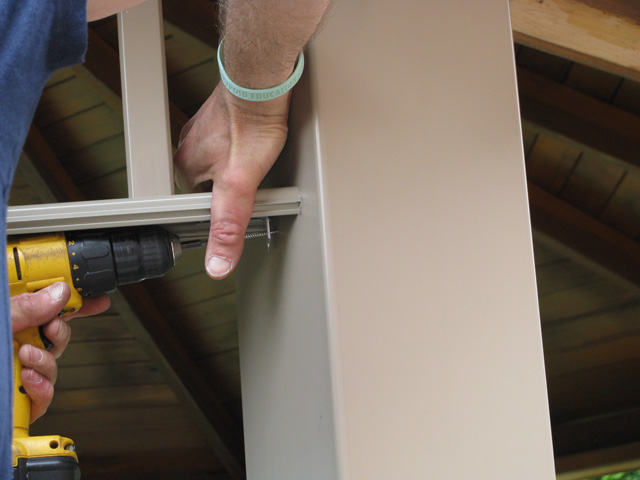
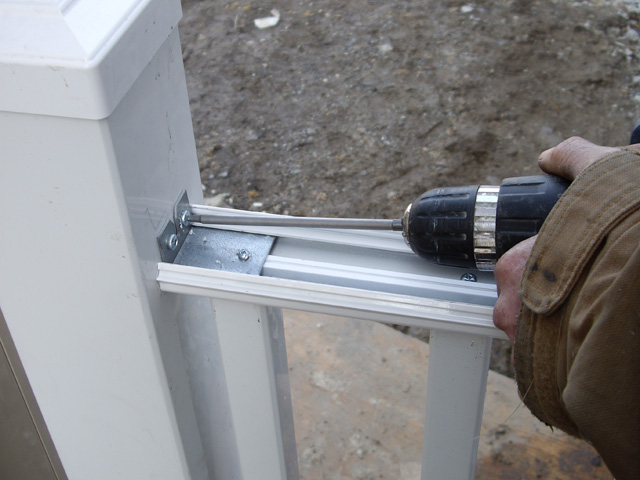
- Install Railing:
Tip - Use a bit extension. When installing on an angled cut (22.5 or 45 degree), install the L-bracket back to the inside corner of the cut and use longer screws (galvanized) to connect to the support face.
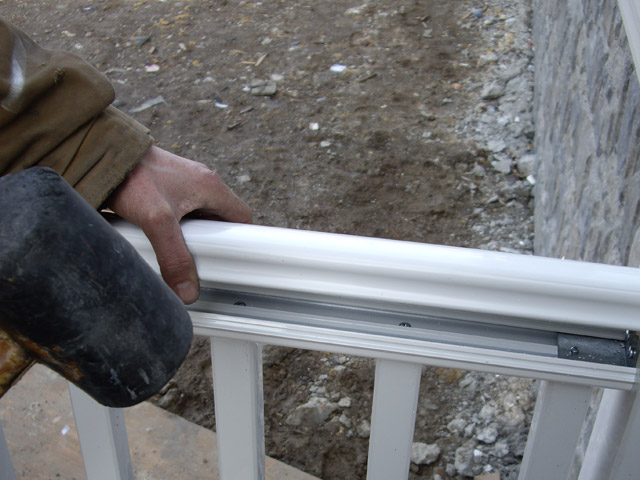
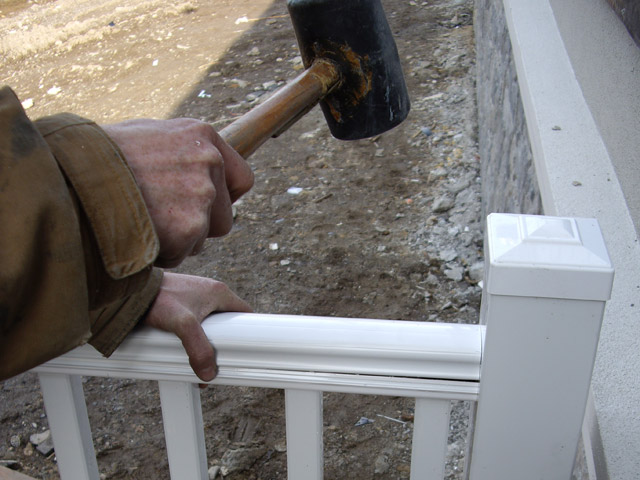
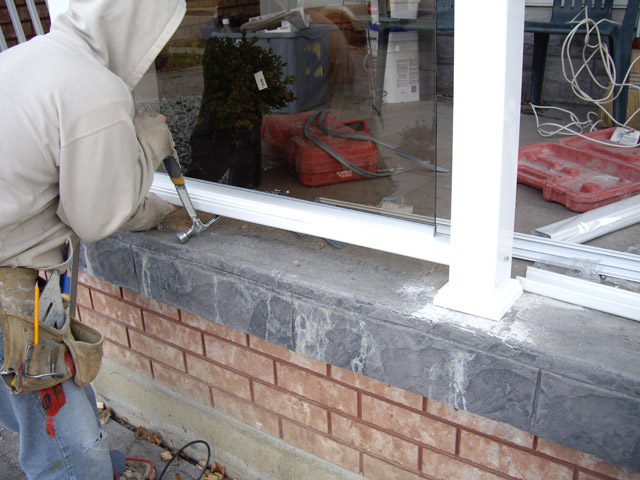
- Snap into place top (Hand) & bottom railings:
Tip - Use a rubber mallet or the end of a hammer (for bottom rail) to get a tight snap on the AlpaRail retainer rail track. After the rails are attached, don't forget to do a final fasten down of the anchor bolts in the newel post base and snap the two snap skirts.
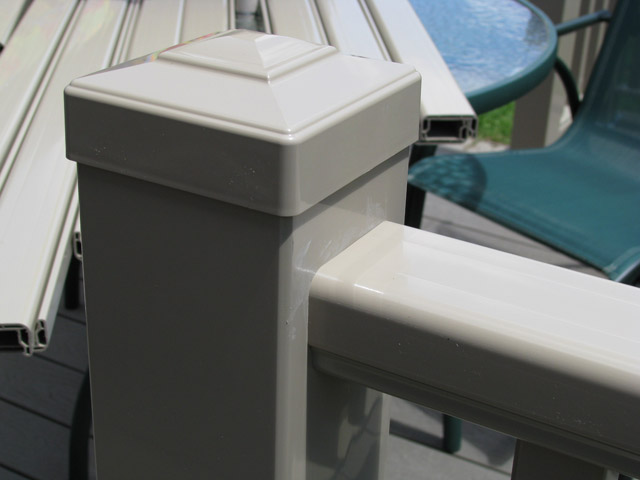
- Push on post cap:
Tip - run a bead of silicon on the inside of the post cap and push down in place. Please refer to our step-by-step AlpaRail Structural Railing Installation Guide booklet for a more details, or contact our Technical Support Team at 905-796-6631 for further assistance.


